Spring: Cut flower bed
This is our first year starting a cut flower farm for our wedding and event floral design studio. It takes a lot of preparation and measuring tape to get it ready for an optimal growing space for our flowers. I am going to take you through what we were up to last weekend to get things ready for the coming growing season.

Irrigation for the cut flowers for our wedding floral designs
Plot size 55’ x 25"‘
We worked on the land for awhile to give it the best nutrients for the wedding flowers. Last fall we added peat moss and compost to break up the hard clay we have in Fargo, North Dakota. This spring we installed a wire fence to keep the hungry rabbits out of the garden while everything starts to grow. We have noticed them multiplying the last few weeks and proud that we were ahead of their mating season!
I want to keep the plants consistently and evenly watered to avoid dieback of our flowers. We designed 4 - 50’x 4’ cut flower plots. We are using irrigation tape which is used like drip irrigation pipe you see in a lot of home landscapes. The tape is flat with hole poked in them vs drip irrigation which is round and a thicker plastic that has little tips inserted every so often. For me, the irrigation tape seems easier to maintain, less bulk when storing and will lay flat underneath the landscape fabric.
Super easy to install and you can cut the irrigation tape to the lengths that you need.
As you can see we are creating this cut flower garden in our backyard. You can use any space you have, it does not have to be acres of land.


Landscape Fabric
Purchased 300’ x 6’
Next we moved on to burning holes in our landscape fabric. We purchased a bernzomatic trigger torch head and a can of propane.
First we made a template that had hole spacing of 9” x 9” and 12” x 12”. I plant my flowers a little closer for optimal space and will find out if it makes a difference if they are closer or farther apart for best growth and fitting as many plants in my plots as possible. You can’t have enough flowers for wedding season, can you??
Next we laid out the fabric 60’ to allow space at either end to cover our walking area so we don’t have to mow that in the future.
Finally we began burning the holes. The holes are 2” in spacing, giving the plants enough area to grow.
The biggest benefit for me in using landscape fabric is the time I will save on weeding throughout the summer. I don’t mind weeding, I just want to have time for cutting and design flowers instead.

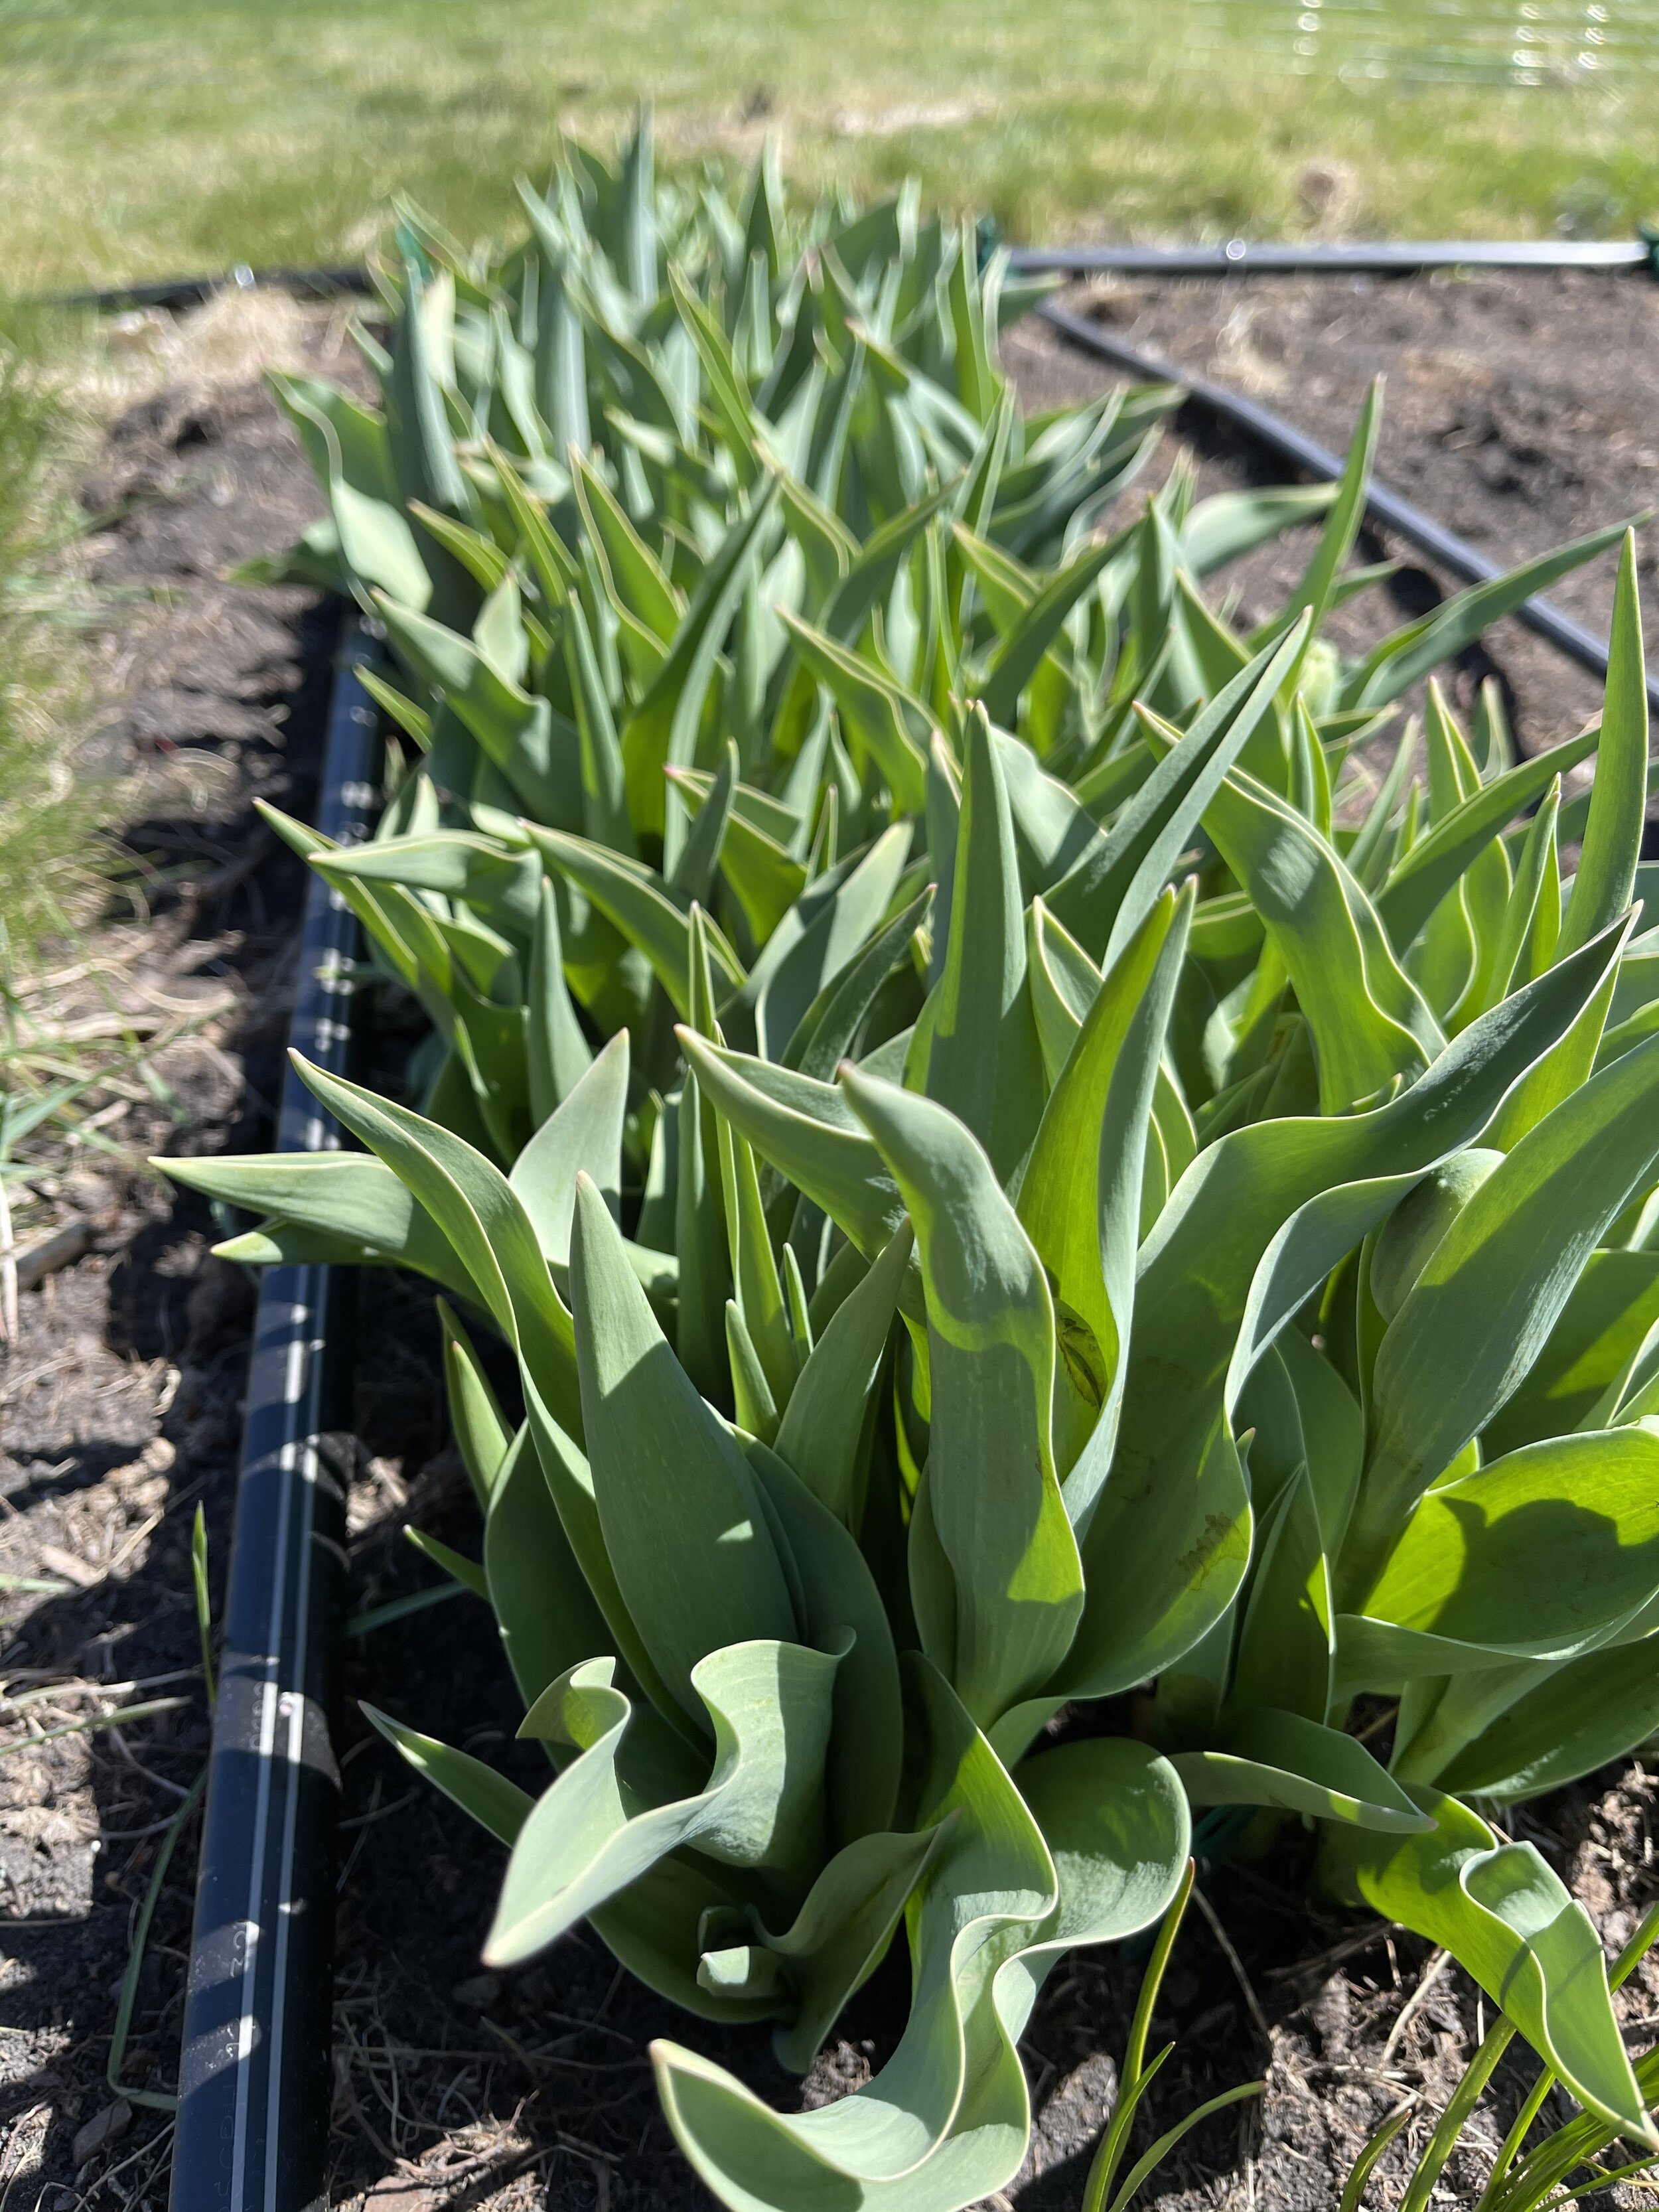
These are our first tulips in the cut flower farm that we planted last fall. As you can see from the second picture the irrigation tape is on either side of the tulip rows for consistent and even water for them to grow fully for your sustainable wedding floral designs.
Stay tuned for hoops….ooohhh I can’t wait to show you this fun trick to growing lush, vibrant cut flowers for wedding and event designs.